Nelis Wolmarans is a South African Wildlife photographer and the Grand Prize Winner of the 2018 Windland Smith Rice International Awards photo competition. He has been my guide for several birding trips to African countries and has also become a dear friend. He has taken the time to thoughtfully contribute some of his advice in order to get the best bird photos. Nelis has contributed to another post on our blog, Basic Tips for Bird Photography.
Creative Bird Photography
Digital photography allows us the freedom to experiment and not have to pay every time we press that shutter button, so play around with exposures and shutter speeds to create otherwise eye pleasing or fun images.
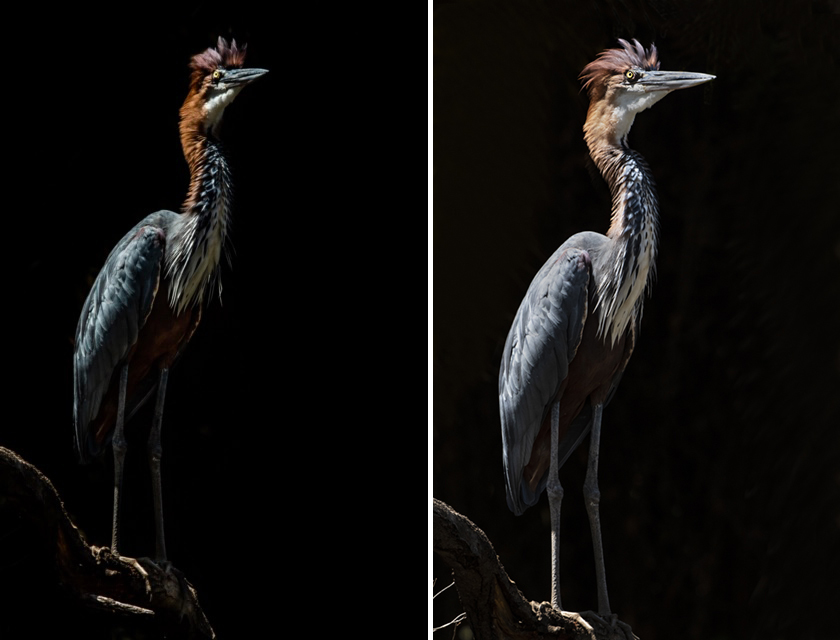
Shooting Birds Underexposed
Pay close attention to not only your subject, but also the immediate environment that makes up the background of your subject. If the background is very dark and your subject is beautifully lit, underexpose your image so the dark background turns to black and you remain only with that which the light touches.
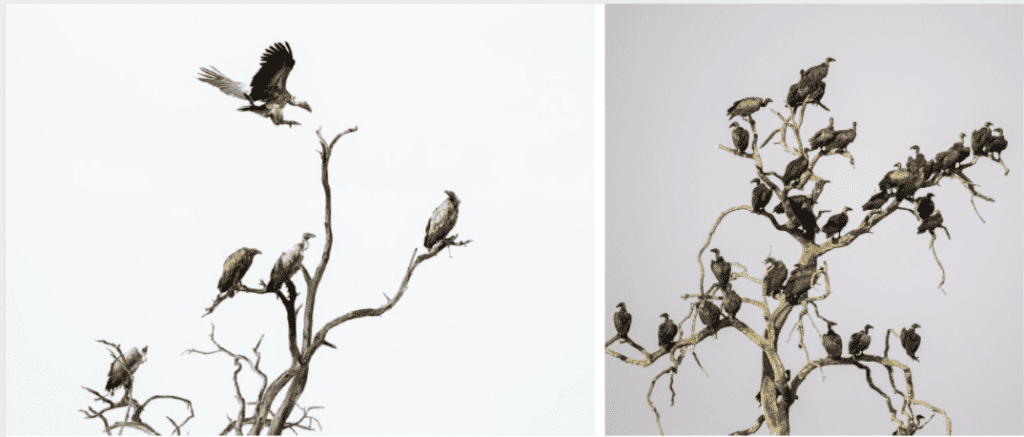
High Key Bird Photography
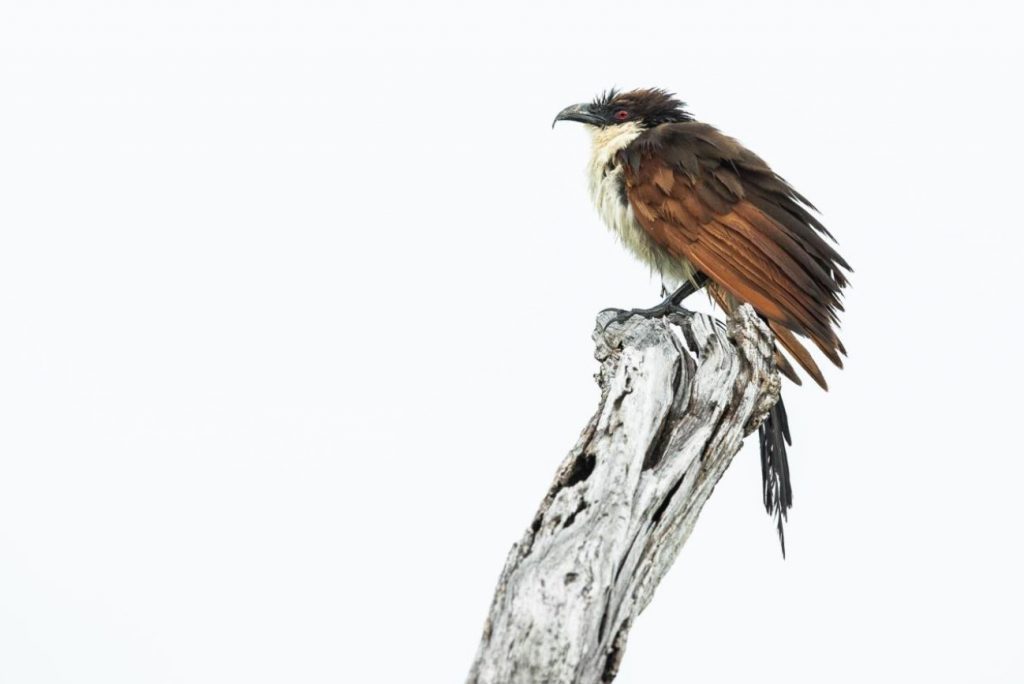
To pull off successful high key photography, having the right background is essential. The best results are often obtained with clean backgrounds of either clear skies, white or very light-colored sand, smooth water surface or yellow grass. The cleaner your background, the better and the less work you have to put in when post-processing.
Overexpose your image by two full stops or more so as to completely blow out or overexpose the background. Then during the post-processing of your image, bring back the shadow areas of your subject or even the whole subject. How much you bring back depends entirely on how you wish to show the image.
Slow Shutter Bird Photography
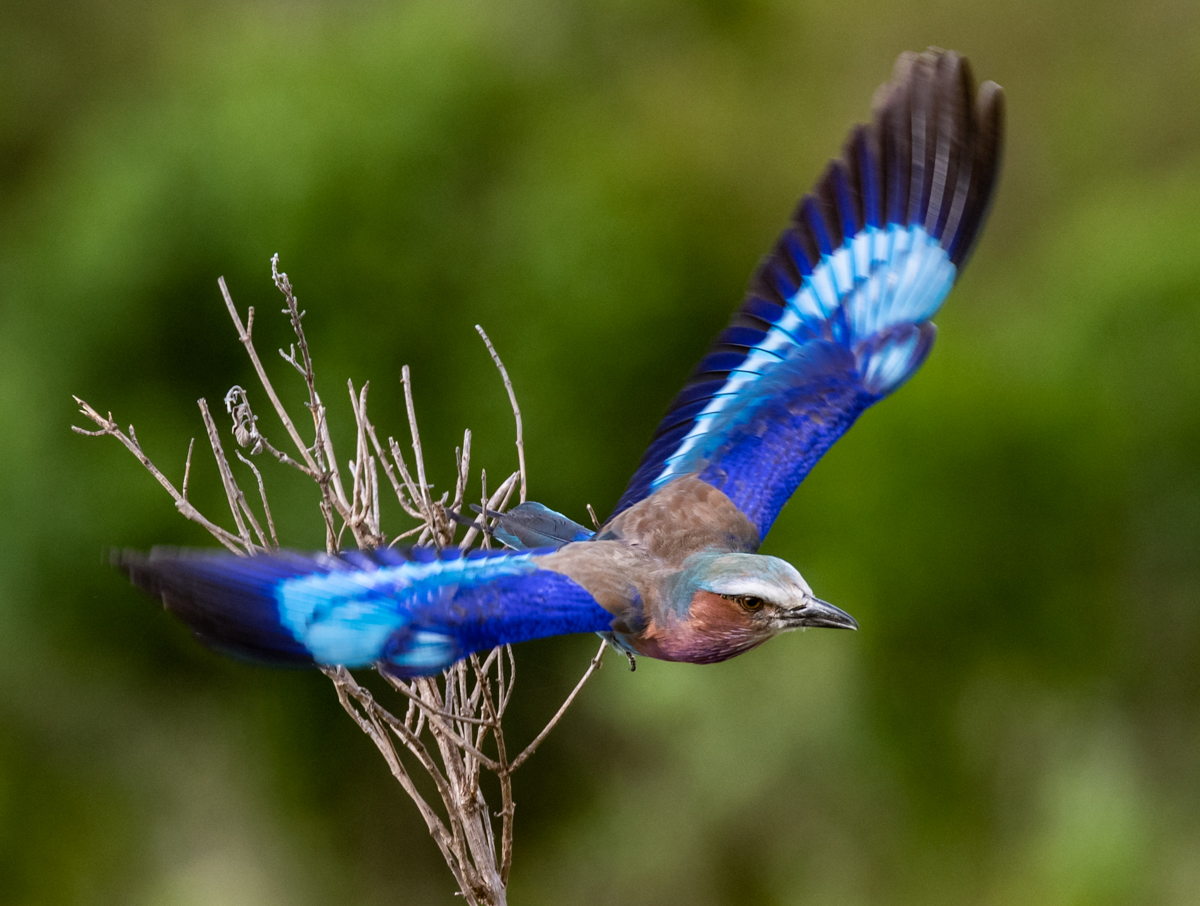
The idea is to show movement but maintain the integrity of the image. I always try to obtain a shutter speed which will freeze the head but allows a blurring or movement effect around the wings of the bird.
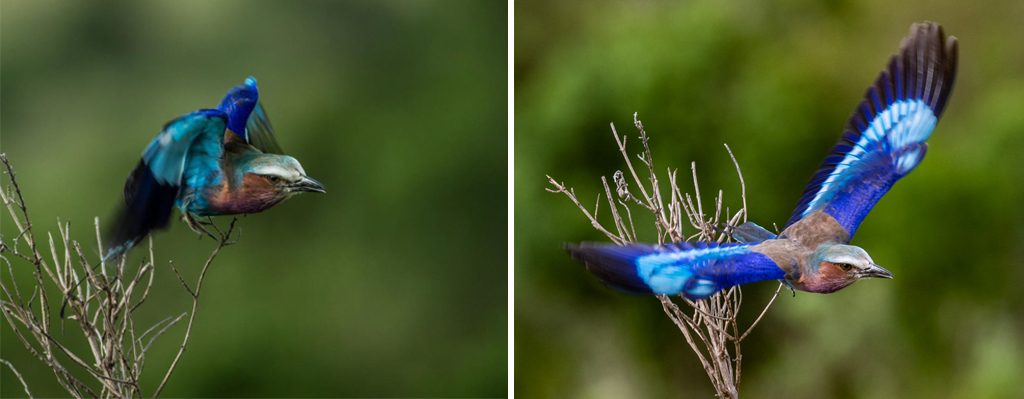
Freeze your bird image by choosing the right shutter speed
Smaller bird species with much faster wing beats would obviously require a much higher shutter speed, especially when photographing bird species such as Kingfishers and bee-eaters. I generally try to maintain a shutter speed of no less than 1/2500 sec and if the light allows for faster speeds, even better.
Larger bird species, such as Herons or large raptors require less speed but do your best to not drop the shutter speed to less than 1/1000 or 1/1250 sec.
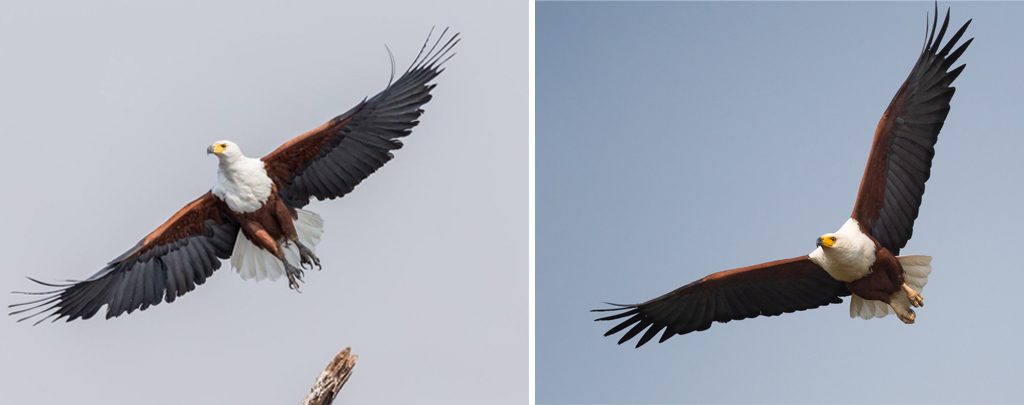
Position yourself to photograph large birds of prey taking off or landing
The single most important factor which I take into consideration when faced with taking these kinds of images is the direction of the wind.
Large bird species will more often than not use the wind for an easier take-off and landing. This makes it quite easy for yourself to position correctly for these types of images and if you are really lucky, you will have both the sun and the wind at your back. Should you need to choose between sun and wind, well, an image of a bird flying away from you does not exactly spark much interest so rather stick with wind over sunlight. You can always lift your exposure to put more definition under the wings.
This generally works really well when photographing these large birds taking off, but a very important thing to keep in consideration is not to put the bird under pressure. By doing this, you are forcing the bird to look for a safer or alternative direction in which to take off.
These large birds will also choose to land into the wind as it allows them to hover effortlessly for a few seconds before touching down, which makes for a much safer and more controlled landing.
Subject display
Most of us, myself included, started our photography by taking what I commonly refer to as an ”ID shot” where the subject shows very little or no personality. As time continues, we wisen up a bit and start looking for something unique, something that will make the viewer stay on the image a little longer.
Things to take into consideration would be the way in which the bird presents itself, the background, and of course unusual behavior.
Bird presentation
The following points I had to learn the hard way and it was mostly thanks to Owen on that first safari to make me realize what I was doing wrong.
• Birds with longer bills demand more depth of field when facing you.
• Darker birds with darker bills are better to photograph with the bird in a side profile so that the bill does not get lost in the dark plumage.
• Take note of distracting branches in front of your subject whilst out in the field photographing. Do not wait to get home and then only notice these.
• Do not crop the tail unless it is cropped naturally by a branch, rock or other natural factors in the field.

Backgrounds can make a photo
Where at all possible, always try and position yourself in a way that allows a clean or as clean as possible background behind your subject. When we talk about clean backgrounds, we refer to a background that does not take away from your subject or distracts from your subject. Clean backgrounds can be found:
• Where the subject and the background are separated by a good distance.
• When using a shallower depth of field in the camera but not jeopardizing the subject itself.
• When the background is of a single color such as clear skies, tall grass, a smooth water surface or even the wall of a building.
