
by ABA Young Birder — Zalán R.
I was ten years old when a woodcarver, Don Raines, presented his work at the library in Canton, MO, where we live. We talked a bit about how I also enjoy working with wood, and he agreed to give me lessons on how to carve realistic birds like the ones he exhibited. In the past year and a half, I have made four complete bird carvings with habitat and base, and also two feather pins, gifts for my mom and my sister.

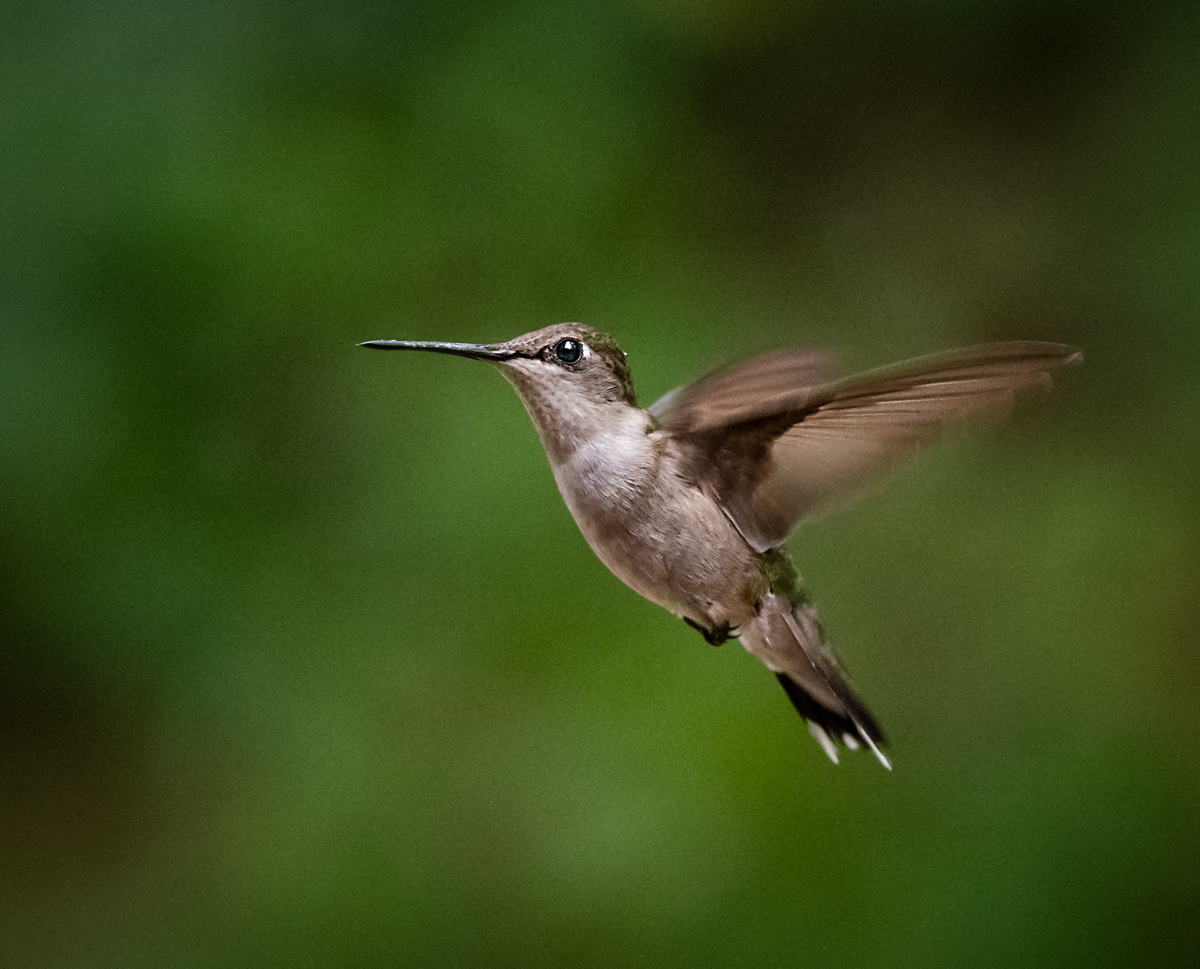
Every carving project starts with an idea. I learned that in my case, that idea needs to be small because as we move along with the roughing, carving with a knife, sanding, drilling the hole for the beak, and other steps of the process, my ideas tend to get bigger. For example, when we were working on the carving of two hummingbirds, I wanted to add an extra branch to the plant they were sitting on. But then the branch needed a flower, and we already had an open flower and a flower bud — so I wanted to carve a bud that was just opening into a flower. It took me weeks to get it right. For my newest project, I would like to create a bird feeder with a Black-capped Chickadee standing on it. I am thinking that I should fill the feeder with black oil sunflower seeds that I carve…
Once Don and I settle on an idea for my project, we always look at pictures, paintings, patterns, and also plates, like in those old books when they still used engraved images of the birds. I need to check whether the breast feathers form one group, or they are divided into left and right halves on a given bird. I check the face — obviously, I will need to carve a channel for the eyes, but are the feather groups separate enough on the head so I would carve the edges to show?
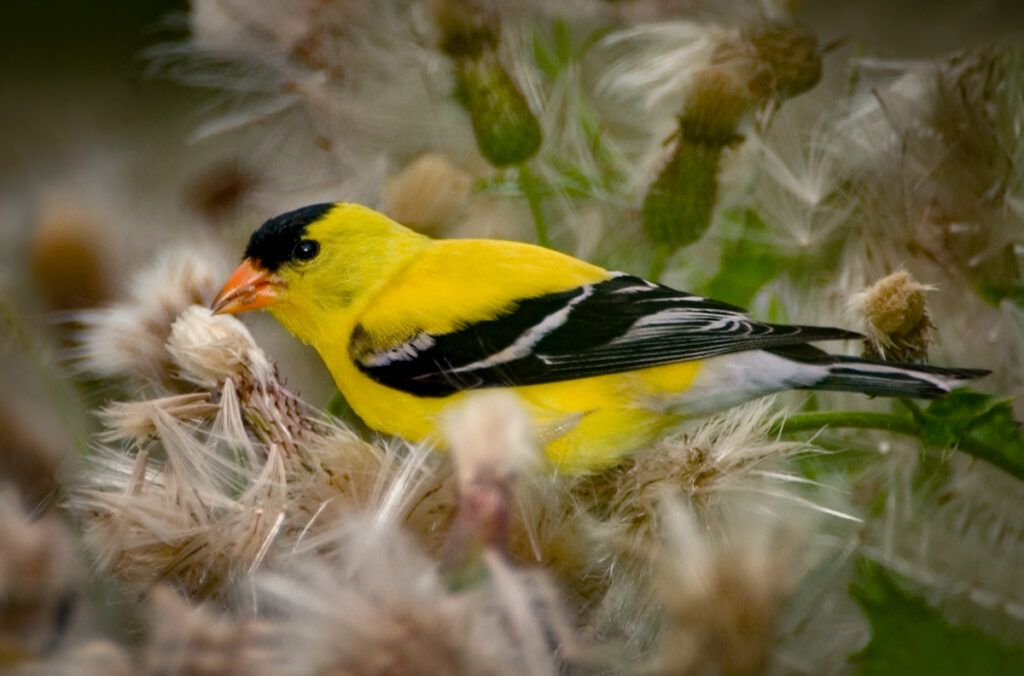
I also need to learn about the habitat that the birds live in. With my goldfinch carving, I wanted to place a fallen leaf under the driftwood we set the bird on. I had to think about the kind of tree the leaf would come from — I decided on a maple. Since the bird was in breeding plumage, I knew I had to create a leaf that was already decomposing, so it took a while to figure out the right texture and color to make it look realistic.
The actual carving starts with a block of wood that we trace the pattern on. Since I am just starting to learn how to use the different tools and some can be dangerous, Don cuts the pattern out with the band saw. Next, I rough out the bird with a carving knife, to get an egg shape.
On birds that are in a standing position, one of my favorite things, the undercutting of various parts, comes next. Depending on the bird, the wings are either side-by-side on the back, or overlapping above the tail. When they overlap, I need to cut wood out from under the wing tips. Then I undercut the bottom of both wings, and with more undercutting, separate the feather groups on the wings.

I also have to “cup” the tail. The tail starts out as a thick rectangular prism. I round the edges on the top, and take wood off the middle on the bottom side to create a crescent-moon shape. The other day, I looked at my two shorebirds, a Red Knot I did as my very first project, and a Killdeer I did later. I realized that the tail on the Red Knot is too flat, not nearly “cupped” enough. (The head is also more rectangular than it should be.)
Once the cupping is done, I mark the feathers on both the wings and the tail. Then I use the burning tool to burn in these markings. This makes a stop cut, which helps with the knife work, and also later, when I have to sand everything.
The majority of the undercutting work comes next. I start with the feathers on the bottom of the tail — it’s always best to start where it won’t be so visible on the finished bird. After the top of the tail is done, too, I work on the wings. Starting with the secondary coverts, I undercut the individual feathers from the head toward the tail, leaving the primaries for last. I also have to undercut the side pockets (my sister says birders call this area “flanks,” but in my world, side pockets make much more sense). Every time I undercut a feather with the knife, I also have to do a lot of sanding to make the grooves smooth.
After the undercutting is done, I need to mark the smaller breast feathers and even smaller head feathers. Finally, I add detail with the Foredom tool, so I could start my other favorite process, the burning.
Burning, I think, is just a fancy way of “drawing” the barbs on each feather with the burning tool. Floyd Scholz, master bird carver and frequent contributor to Wildfowl Carving magazine, says, “The burning and texturing process takes a lot of time. You must be patient and willing to just settle in and get the work done.” The best carvers burn about five to seven hundred lines an inch, and with all the feathers a bird has, this takes a while.
In fact, the whole carving process takes a long time. Don told me that if it takes three months to carve a bird, you will have to add six months of sanding, then another six months burning will make you realize that you still have half of the burning to go. I have only completed a few projects, but I know this to be true.
After burning comes painting. When we paint the birds with Don, we gather all bird images again to compare the colors of different individuals. To my big surprise, when I painted the Killdeer, none of the illustrations we were able to find showed the same leg color. This makes mixing the right paint color a tricky business, and again, takes time.
While learning to carve with Don, I came to understand three dimensional objects a lot better, and realized how much fun painting can be. I know that carving is a very slow way of learning about birds, but I enjoy doing it, and I think I have found my own way of birding — even if it is not the traditional, binoculars-and-field-guide-in-hand kind of birding.
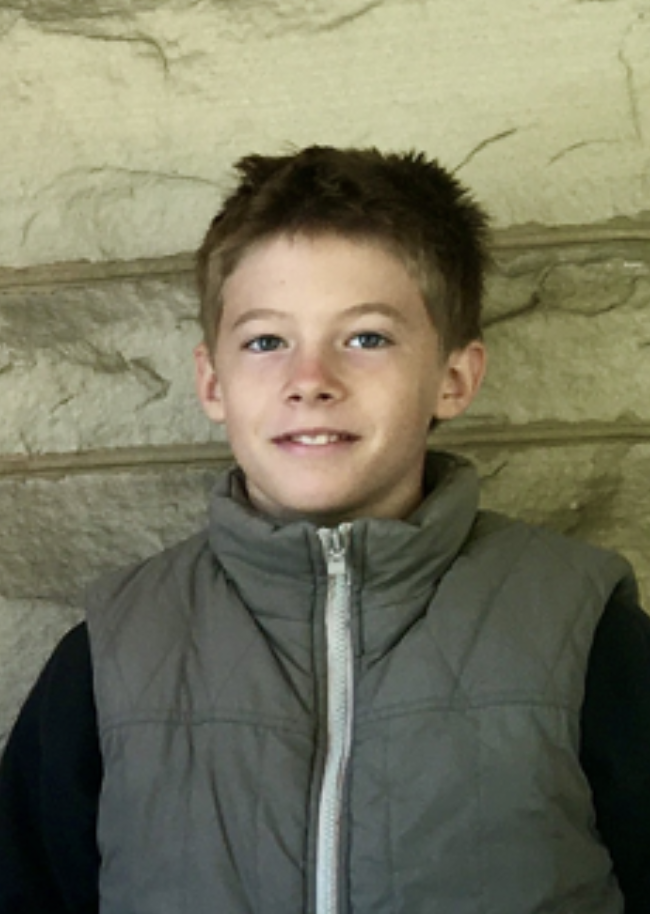
Zalán R. is eleven years old and likes to spend time outdoors with his sister and mom. He lives in Missouri, but sometimes goes to visit his mom’s family in Hungary, in the heart of Europe. On the weekends, he learns to carve birds from his mentor, and hopes to be as good as Don one day. He is very happy to have this opportunity to share his writing with the world.